Warhammer 40k - Adeptus Mechanicus Welcome to Mars Chapter 4 Skitarii Rangers Sniper Squad
Warhammer 40k - Welcome to Mars Chapter 4
Chapter 4: Skitarii Rangers Sniper Squad
Welcome to Mars!!

Having dived straight into the first minis for this new army, I thought it prudent to paint some Troop choices. So lets see what we have. Two boxes of Skitarii Rangers/Vanguard, one from the Forgebane boxset and one from the big army starter box set.
My plan for further squads will be to purchase another box of troops and build enough of the variants to be able to customise several squads but; The first to be enlisted will be a five “man” Ranger sniper squad.
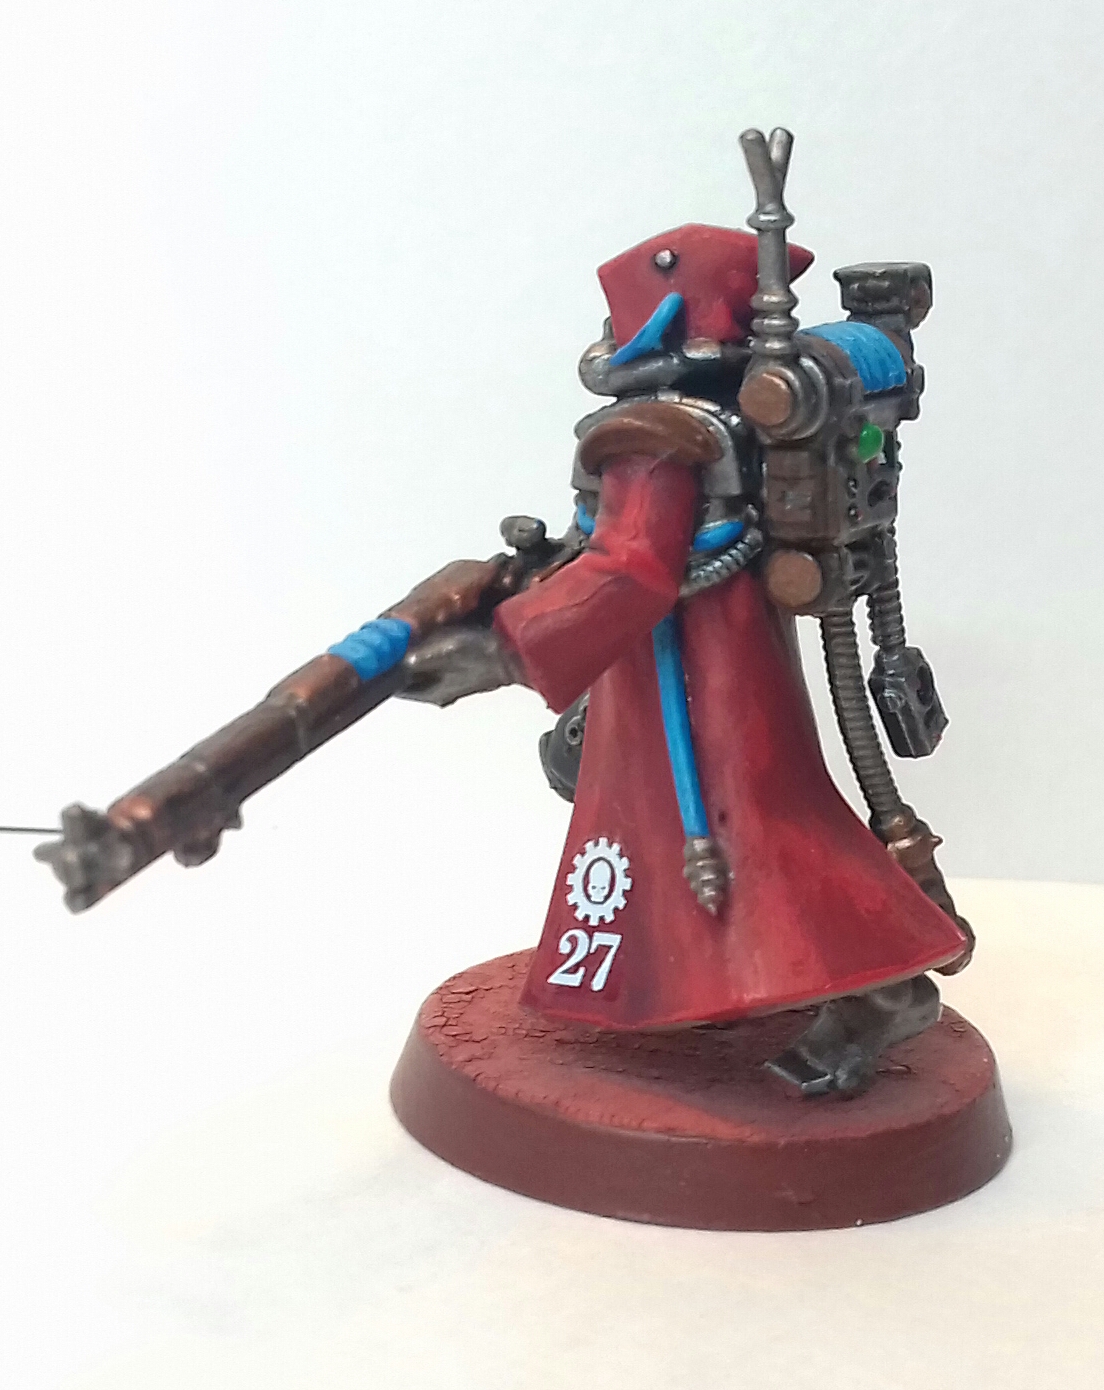
This first squad will consist of two transuranic arquebus models, plus an Alpha equipped with a phosphor blast pistol and taser goad and two other Rangers with galvanic rifles, one of which would be equipped with a Omnispex will form my first squad.

Assembly
Controversial I know but the best way to do this is to simply follow the instuction leaflet. I clip off the parts shown at each step and before gluing them, I check them for mould lines. A sharp craft knife is essential for this along with various other tools. Check out The Tabletop Hobbit’s tips for modelling and the most important tools in his article titled Hobby Set Up.

TIP: If you want a more stable model on the battlefield, try gluing a coin to the underside of the base (I've found a Euro 2 cent coin is ideal for the 25mm round base). It's a good idea, before gluing the model to the base, to make sure the underside of the base is flat. Sometimes there are raised areas that are easier to remove at this stage.
Painting
I experimented a bit here. Normally I would undercoat these models with a chaos black spray but as the bulk of the model and base would be red or earthy red/brown, I thought I'd try mephiston red spray in the hope it may save some time and make the red of their robes stand out.
I then apply a thin base coat of Leadbelcher to the metal areas. Rhinox Hide to the arquebuses, rifles, purity seal ribbons, leather straps and pouches. Baneblade Brown was added on the inside of the robe. Mephiston Red on the outside of the cloak. Dark Reaper added on the trousers.
Once this is done, wash all the Leadbelcher, Dark Reaper and Rhinox Hide areas with Agrax Earthshade and the outside of the cloak with Carroburg Crimson. I'm looking for these washes to settle in the grooves and folds. This will give 'depth' to the details on the model.
Once the washes dried I painted Leadbelcher on the raised metal scrollwork on the weapons. Some of this will end up brass coloured but I find the brass effect works best when painted over a grey metal such as Leadbelcher or Chainmail.
Brass Scorpion next, just pick out the areas you want. I went for their shoulder pads, various armour plates and a few other small areas and the metal scroll-work on the rifles.
Layer Mournfang Brown to the wooden areas of the arquebuses and rifles and also to the raised areas of the leather straps and pouches.
At this point I apply a second wash of Agrax Earthshade to all the metal areas including the brass areas. Both the arquebus and the galvanic rifle can also receive and wash at this point - the wash should be allowed to settle in the grooves and edges between the wood and the brass scroll-work.
Apply a thin layer of Mephiston Red to the raised areas of the cloak. Avoid areas in folds where the Carroburg Crimson has settled. You may also need to apply a second thin layer of Baneblade Brown to the inside of the cloak.
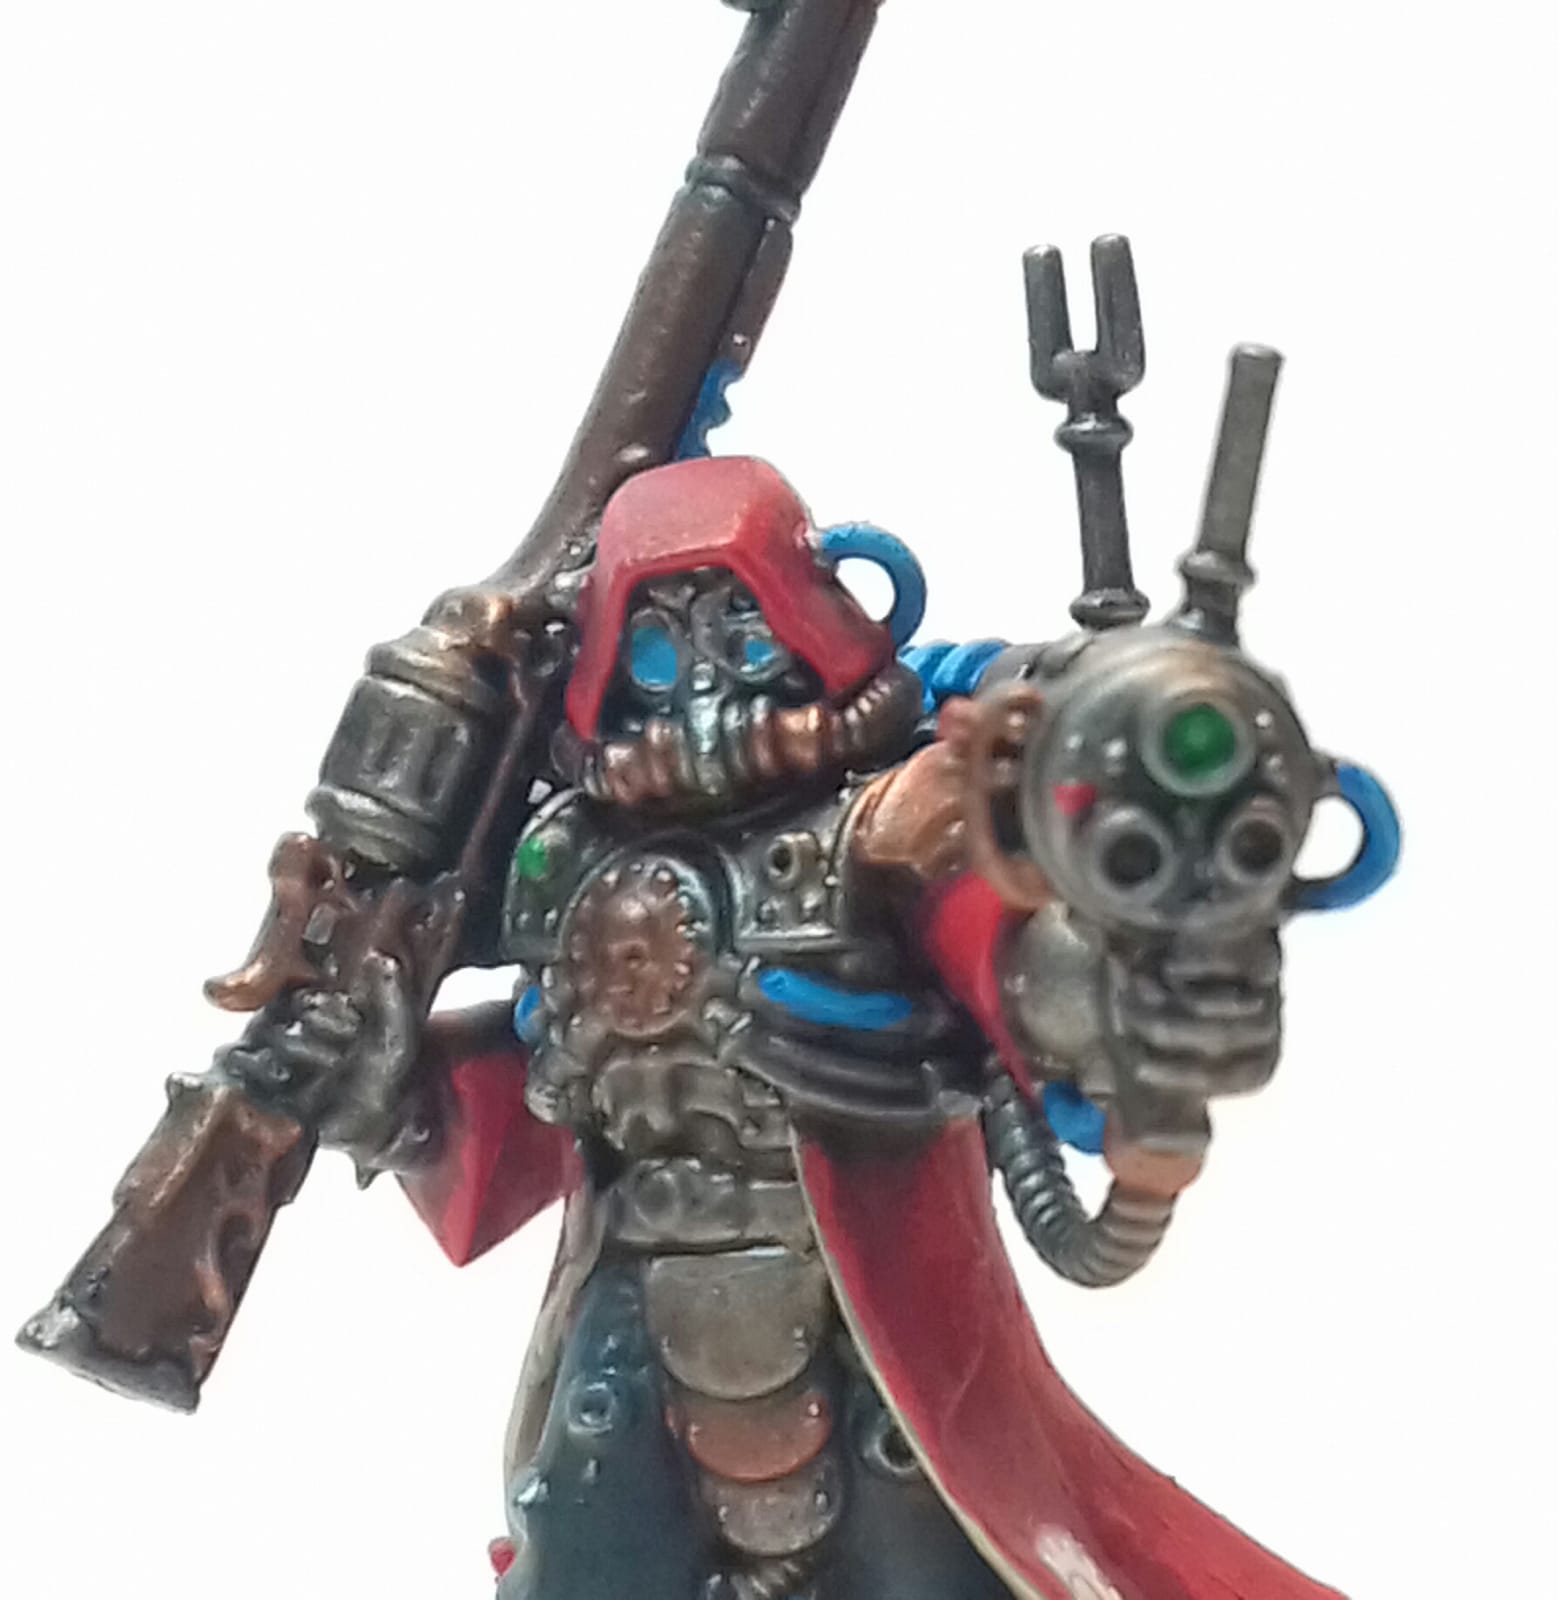
Layers of Teclis Blue highlighted with Lothern Blue for the areas I want to look like power sources and cables, Caliban Green highlighted with Skarsnik Green for the phosphor blast pistol, Khorne Red highlighted with Evil Sunz Scarlet for the wax and Karak Stone highlighted with Ushabti Bone for the ribbons of the purity seals.
The inside edge of the cloak is highlighted with Ushabti Bone. The outside edge and the most raised areas highlighted with Evil Sunz Scarlet.
TIP: For highlighting edges make sure you do not have too much paint on the brush and to hold the brush side on so the edge of the brush and not the tip, is applying the paint to the raised areas.
That's the bulk of the model done. For the bases just follow the same method as outlined in Chapter 1, using Martian Ironearth - the stones are just smaller or there are no stones at all!
There are some gauges and buttons. I painted these Abbadon Black to establish a depth behind the gauge or button before painting the face of the gauge and the top of the buttons with Skull White leaving an outline of the black. The lights and the face of the Omnispex are also painted white at this stage.
The arrow on the guage and a few of the buttons were painted Evil Sunz Scarlet. Other buttons and lights as well as the Omnispex screen were painted Snot Green (an old citadel paint) enhanced with a dot of Sunburst Yellow (another old citadel paint but you can find something similar in your collection).
The last bit of painting was Lothern Blue. Added to the eye lenses before applying the transfers to the cloak and spraying the entire model with a thin dusting of purity seal.

Looking forward to picking off some enemy HQs!
Ranger Sniper Squad 27 ready for duty! This is Mars, signing off...
Gildoren


 Remember and subscribe if you want to see how this article series progresses..


As promised we are trying to add relative links for OZ/NZ, Canada and the USA as I know much of you Beardlings are in fact based in our sister nations. So this will be updated with these links soon.
Australia / New Zealand

We also work for the Mperor ... click the link and get $5 off your first order! or Repent!
click this link or suffer the wrath of The Ordo Hereticus MPEROR
Canada / USA - Apologies, We are still working on partnering up here with white metal games and Ministomp.
The Tabletop Hobbit also has his own Facebook blog. Find it Here - https://www.facebook.com/TheTableTopHobbit/
.jpg)

Comments